Schedule
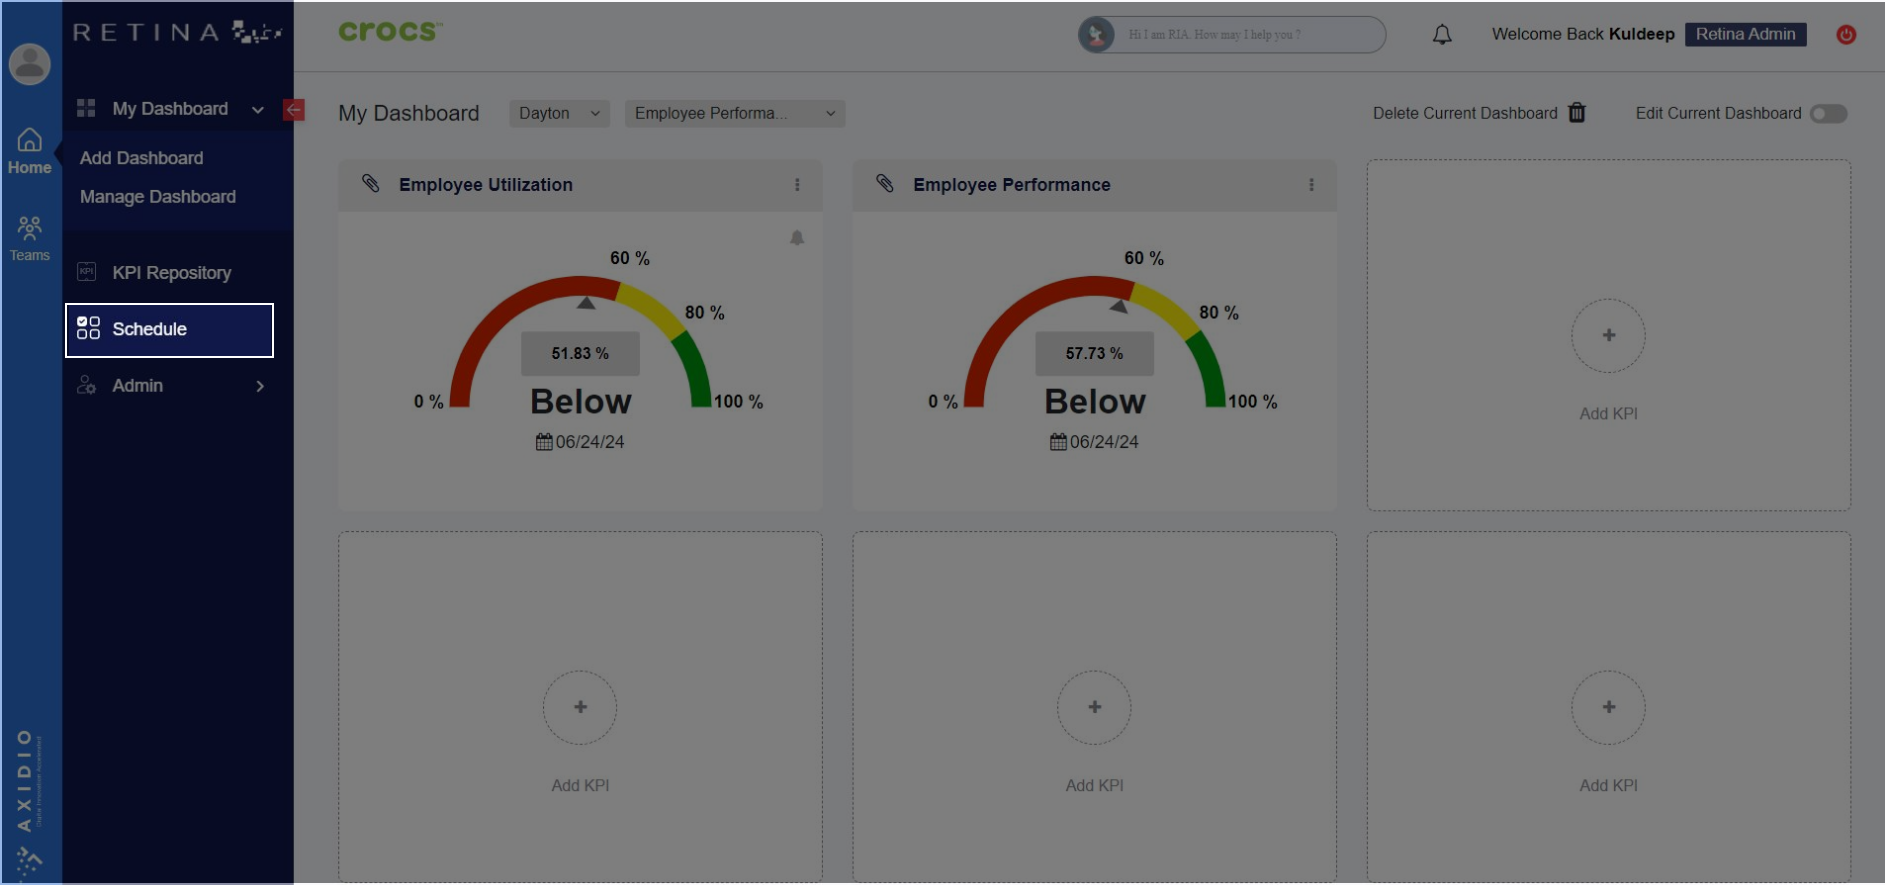
1. After logging in to Retina>>go to Schedule
2. Click on Add a New Schedule to create a schedule

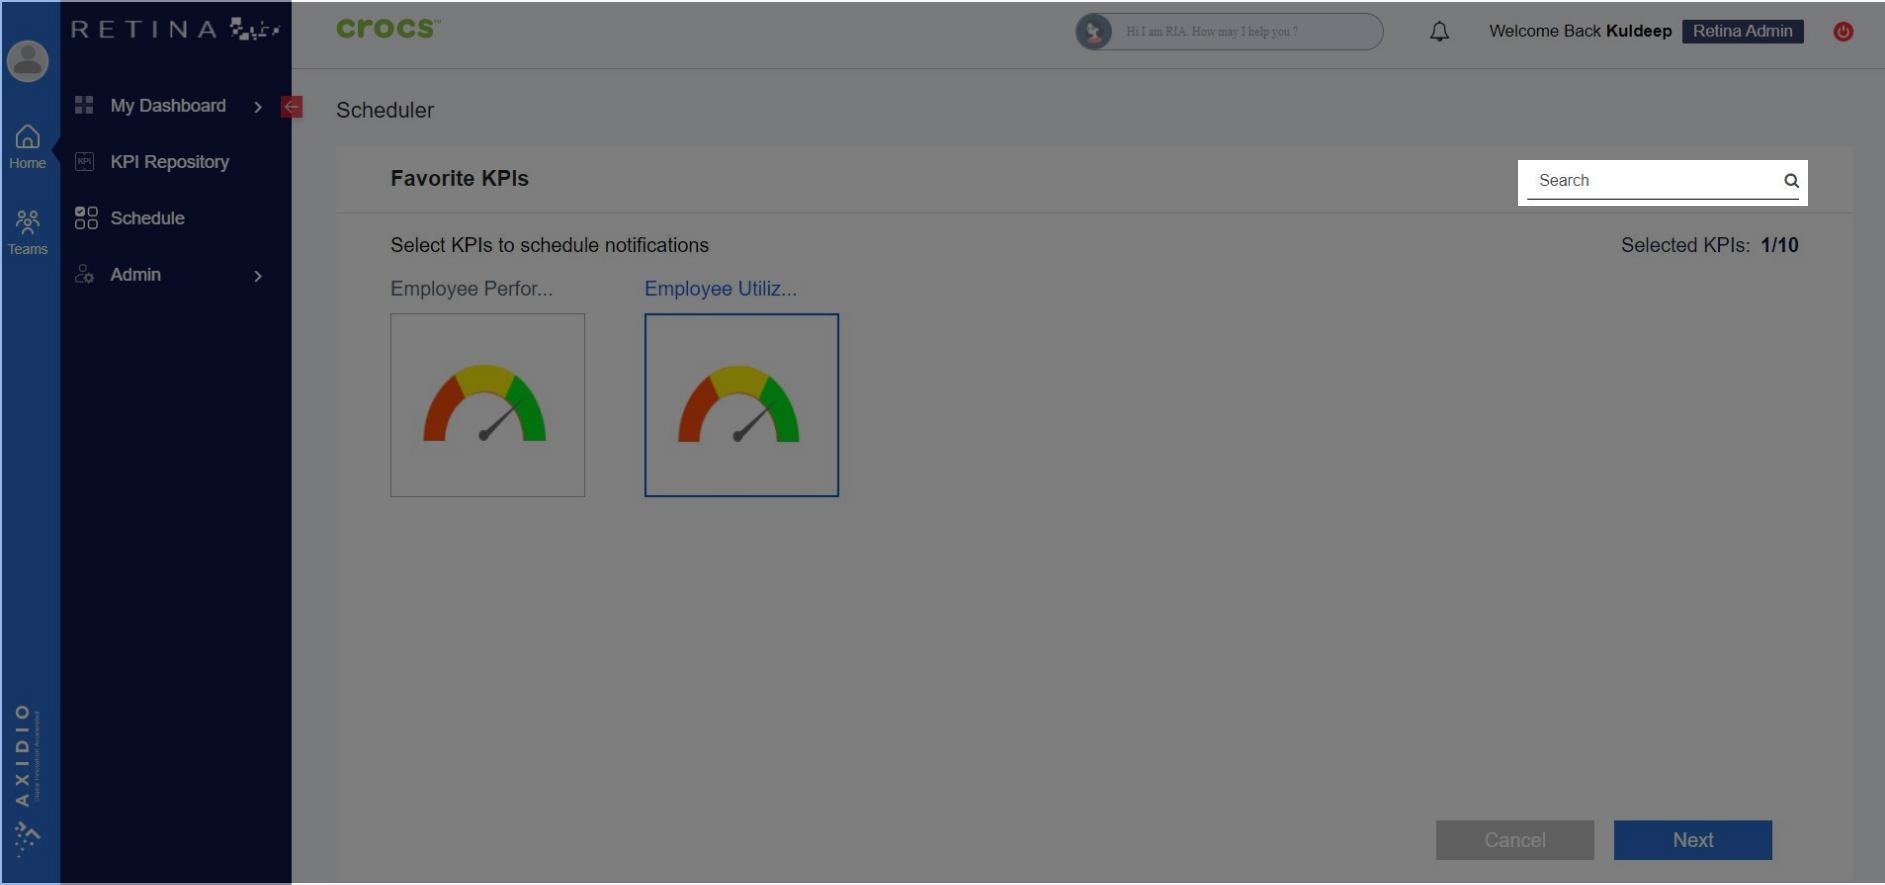
3. Select the KPIs you want to add to the schedule >> click Next
Note: You can also use search box at top right corner to search the KPI to add to your schedule
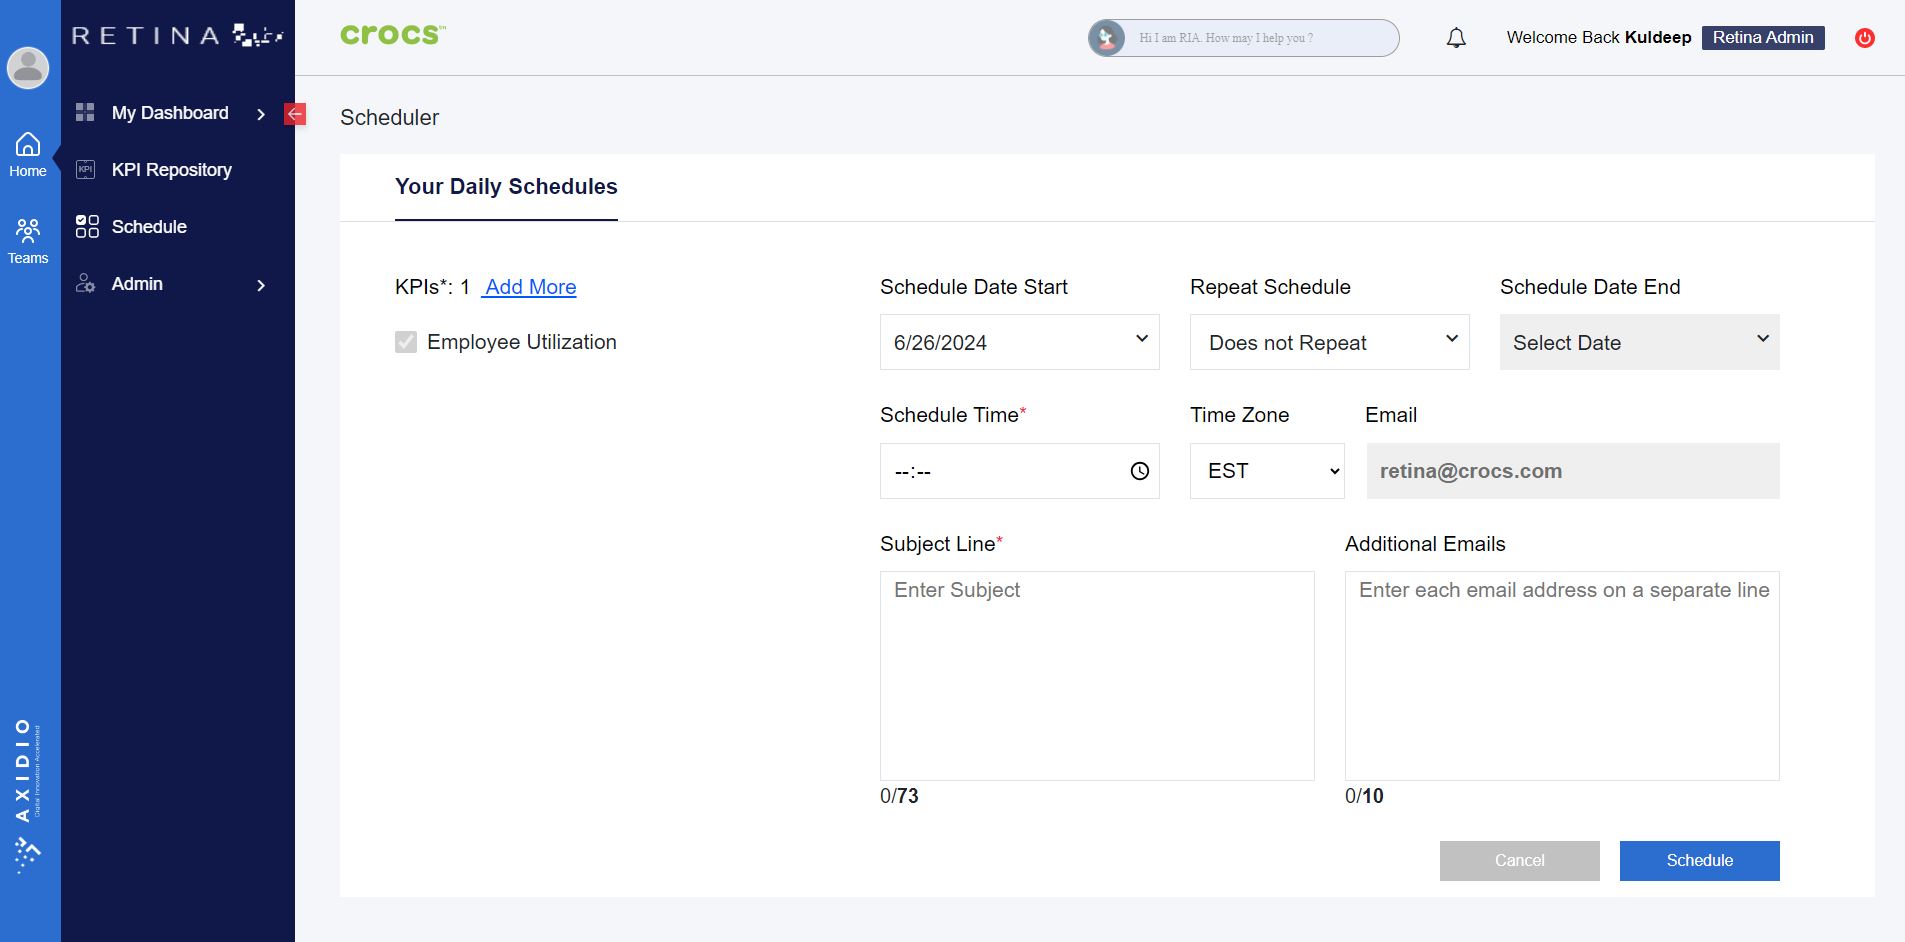
4. Fill in the fields and click Schedule
Note: "Add More" button is there to add more KPIs
Schedule Start Date: Enter the date when the schedule begins.
Schedule End Date: Enter the date when the schedule ends.
Repeat Schedule: Select the frequency for repeating the schedule.
Time: Specify the time for the schedule.
Time Zone: Choose your time zone.
Email: This is your primary email address.
Additional Email: You can add additional email addresses to receive the schedule. Press Enter after inputting each email address.
Subject Line: Enter the subject line for notifications. Text, 0-9 digits , one space and special characters only are allowed.
5. A popup will show up with a Success message
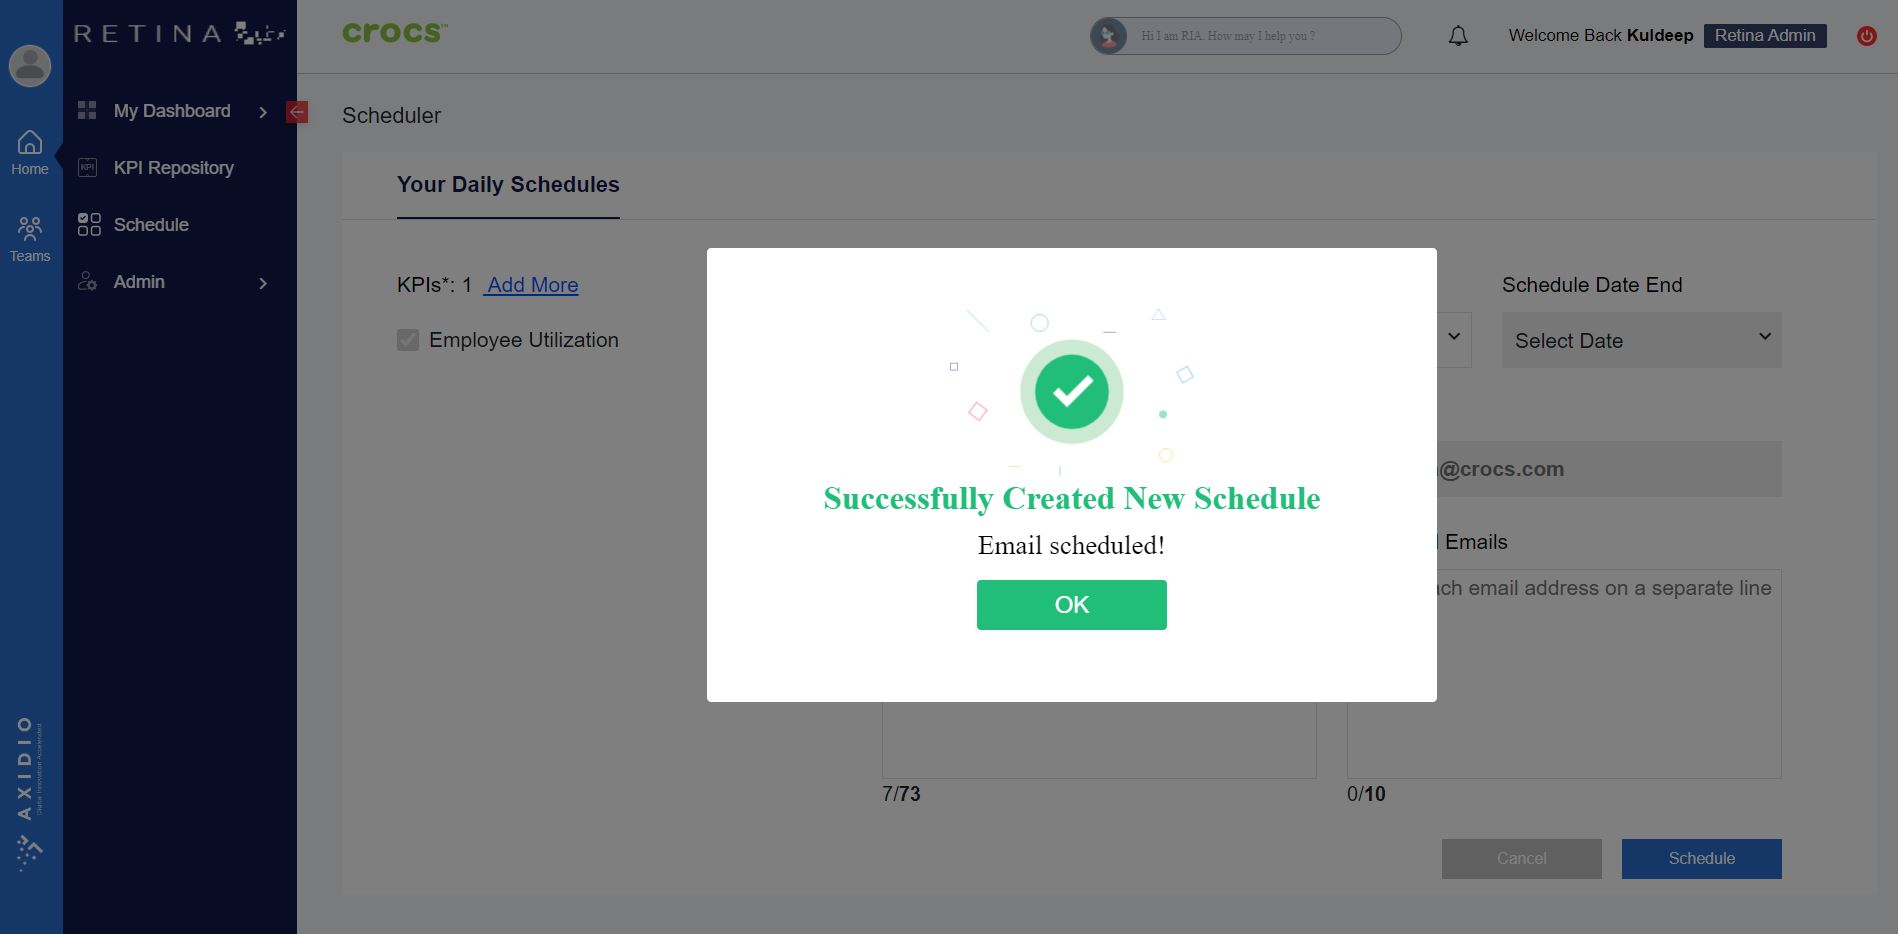
6. You will receive an email from Retina Admin regarding the KPI schedule update
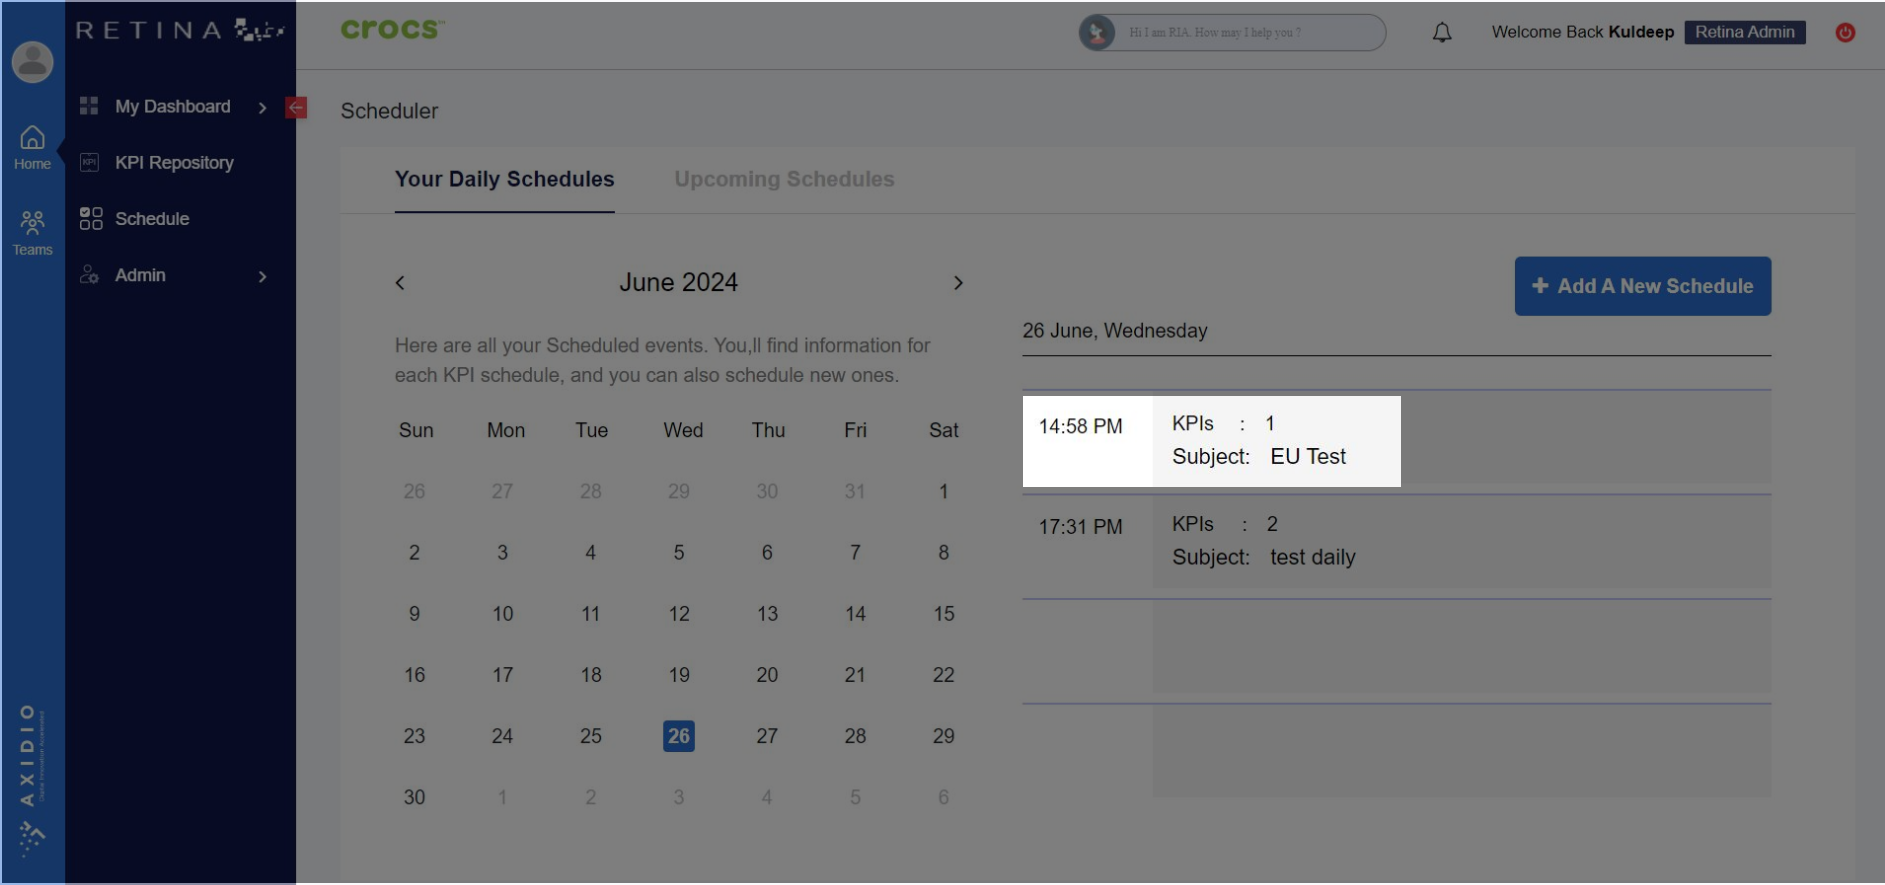
7. A Schedule is created on right part of the screen.
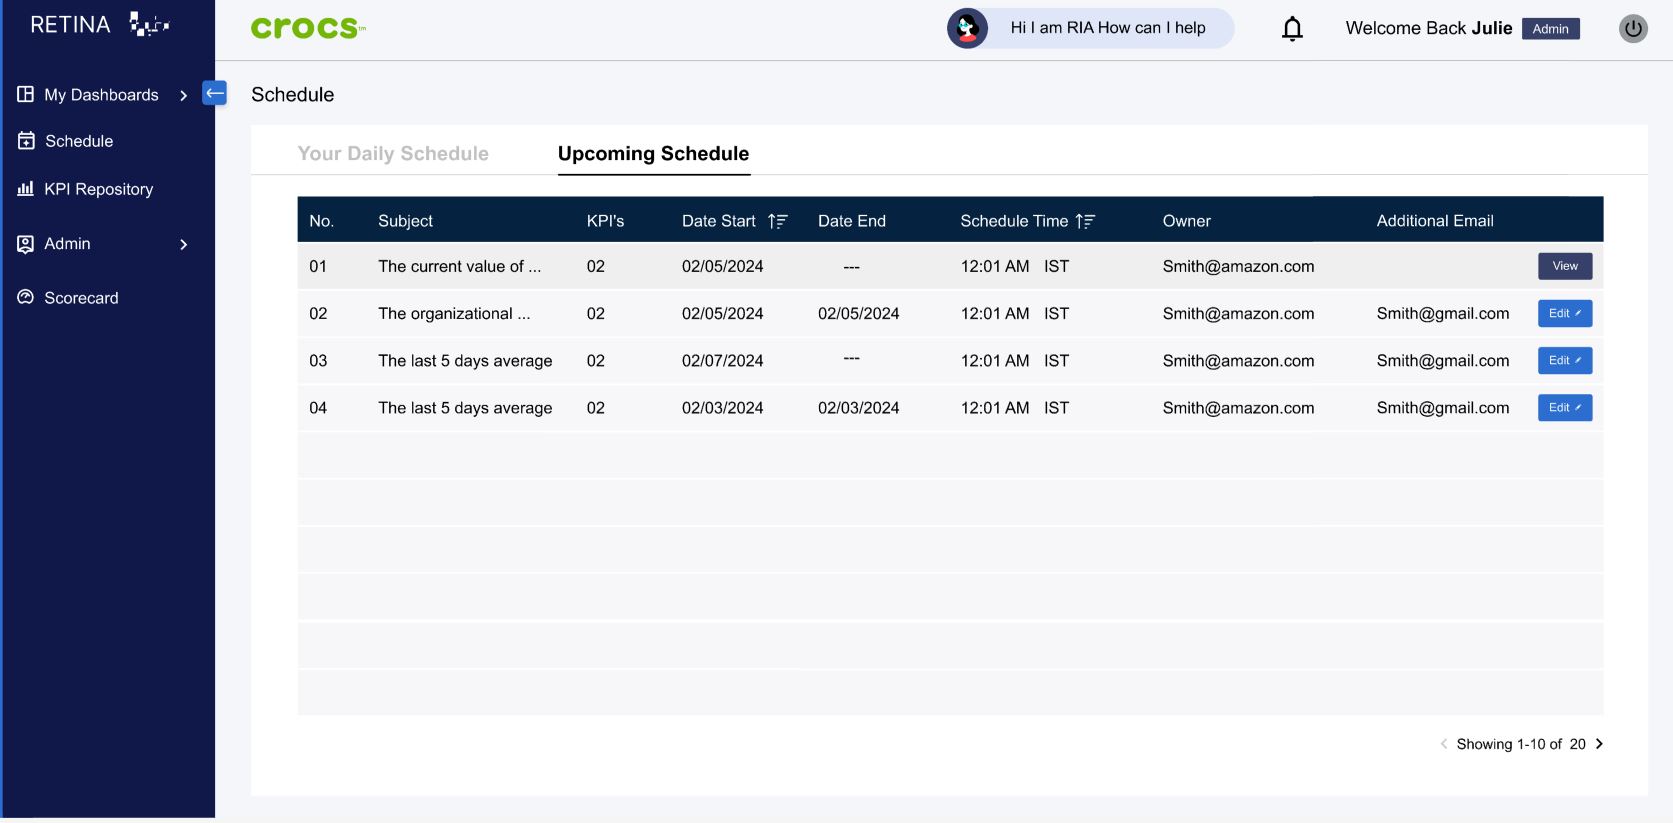
8. You can view the Upcoming Schedule right next to New Schedule
Here you can sort the fields in ascending or descending order
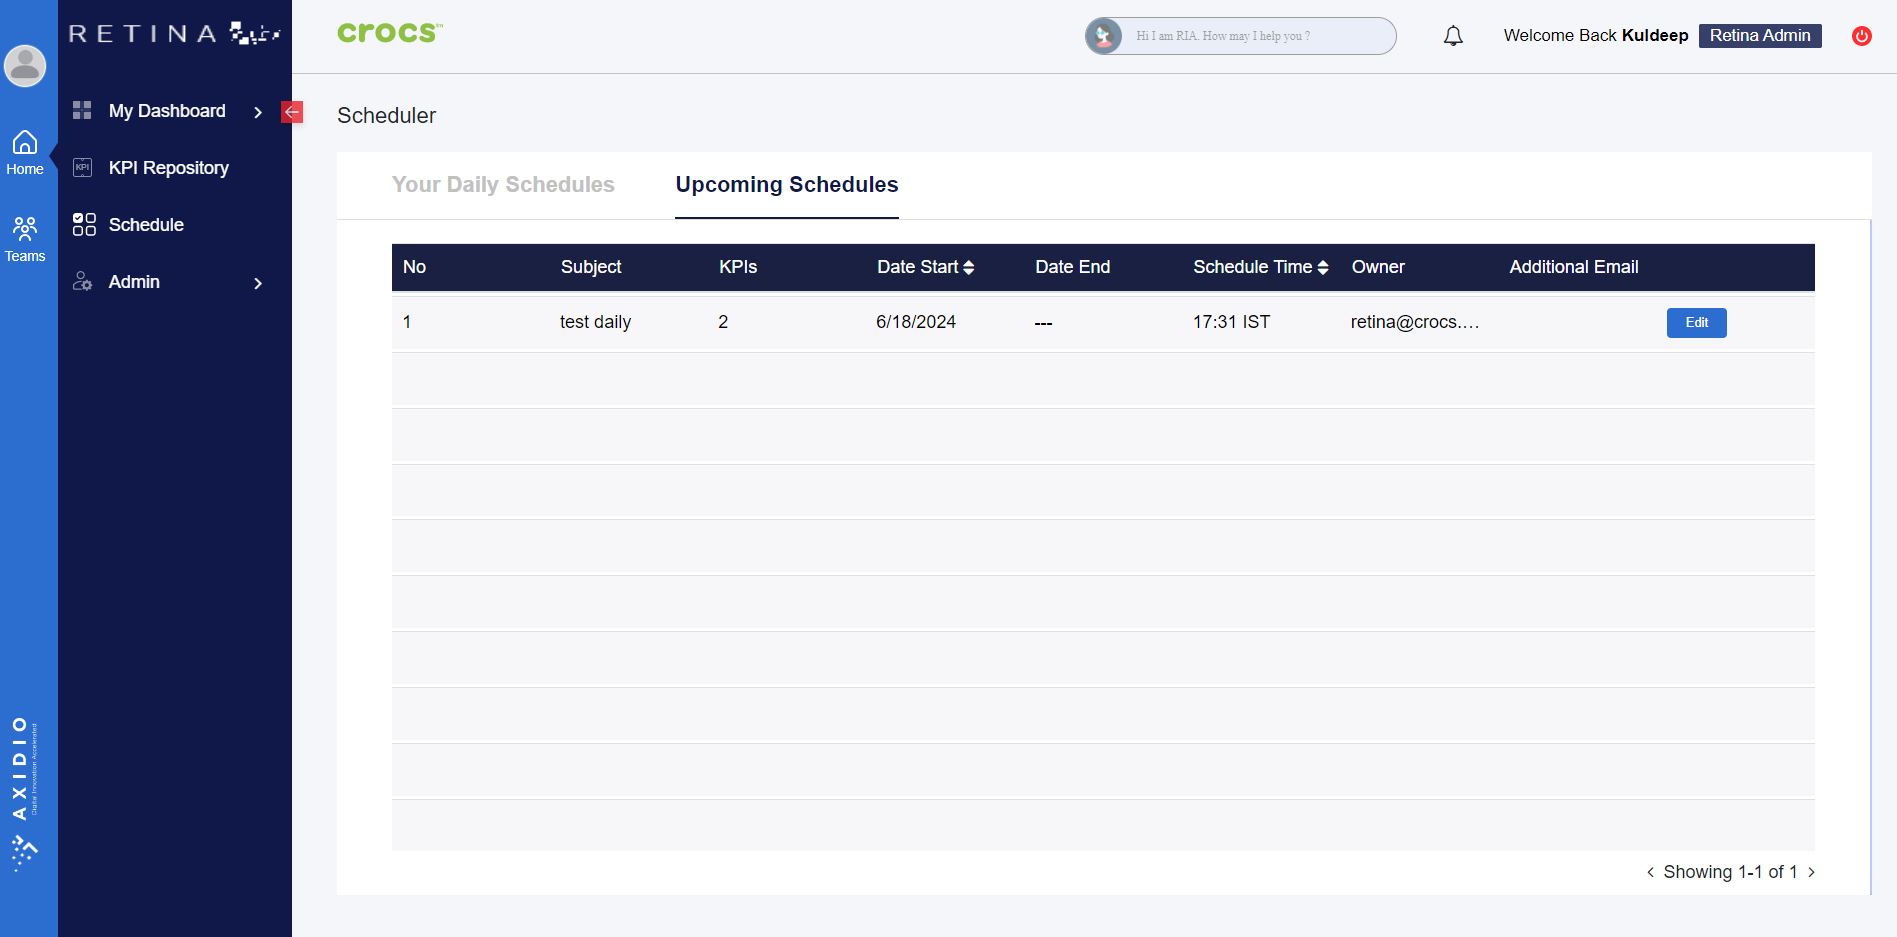
9. To edit a Schedule, click on Edit
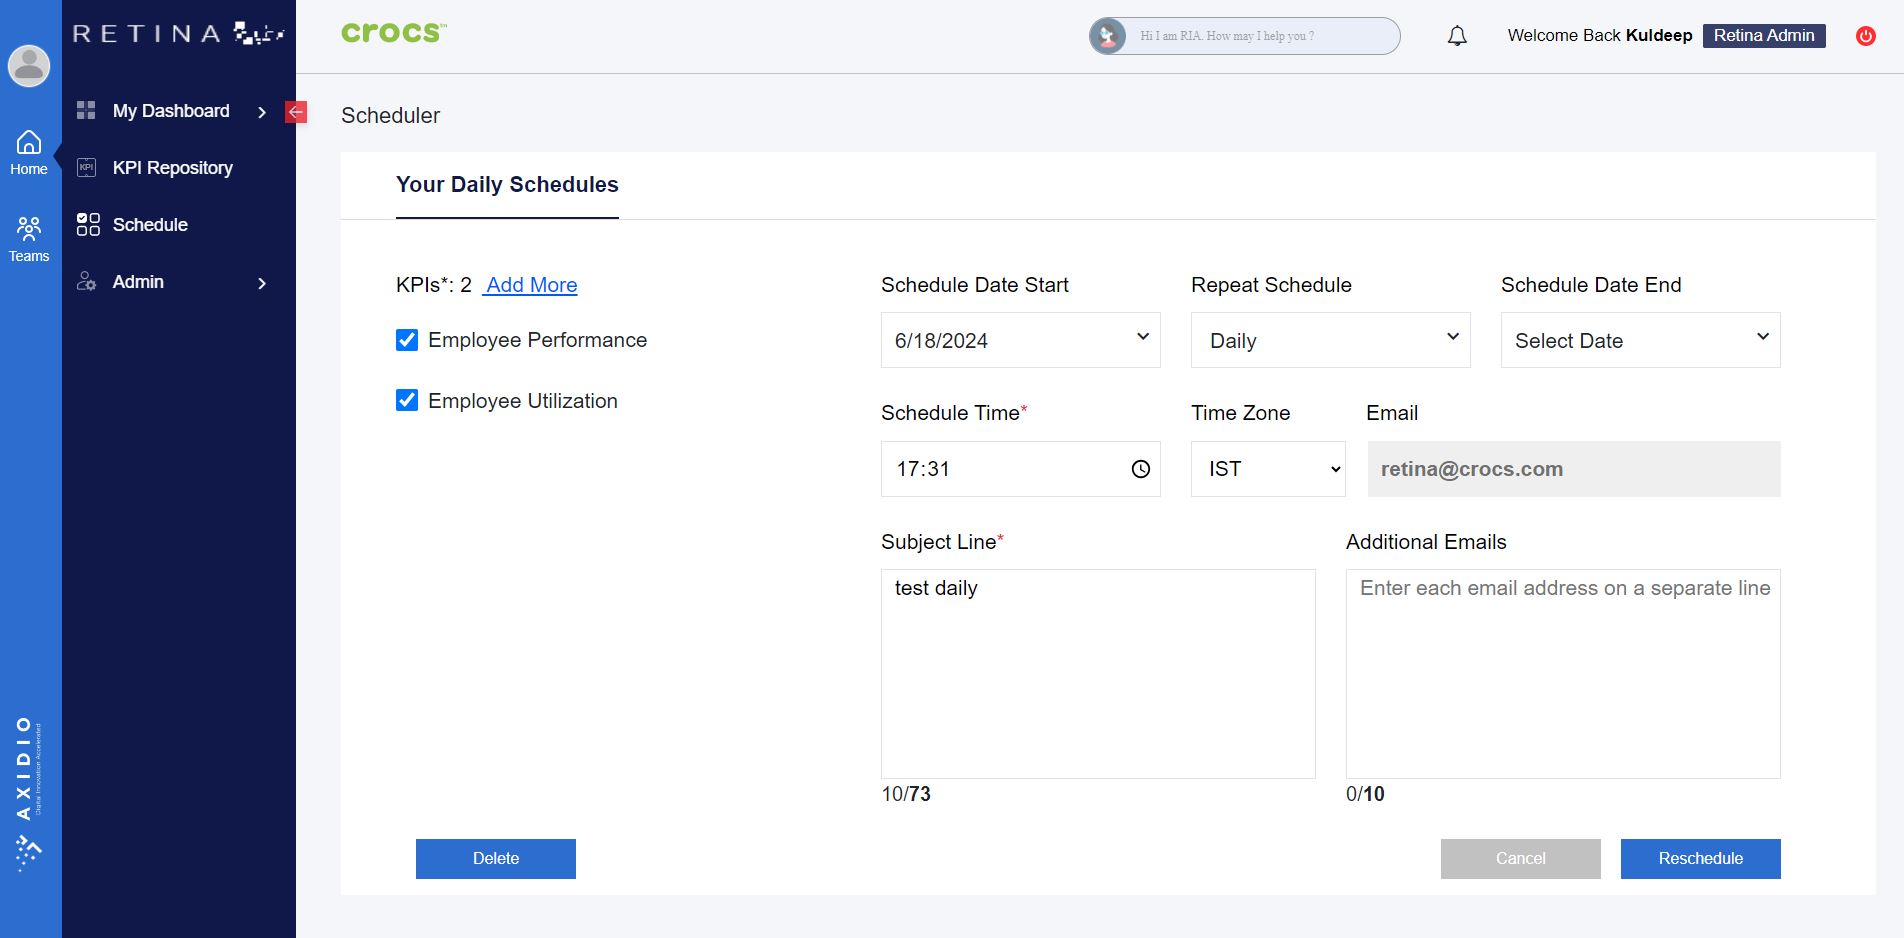
10. Edit the Schedule and click Reschedule to reschedule or click cancel if you want to cancel changes.
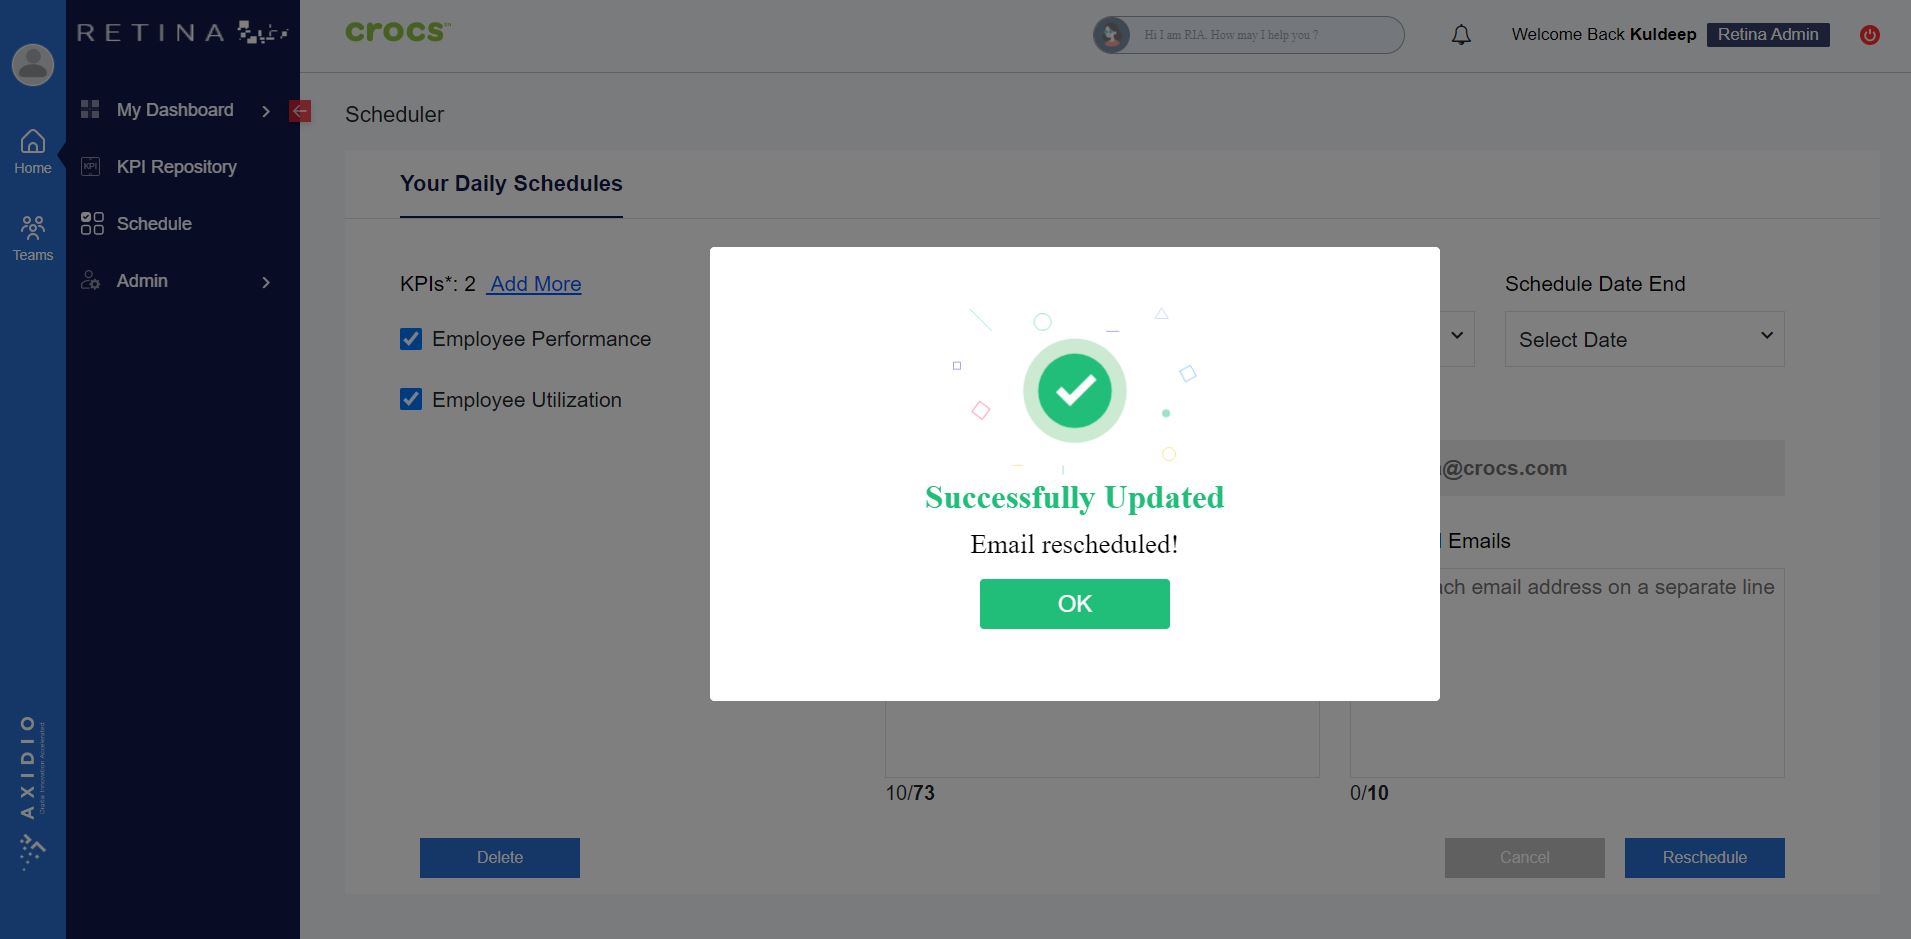
11. After clicking Reschedule, a popup message will display as Email Rescheduled!
12. To Delete a Schedule >> click on edit schedule. and click on Delete
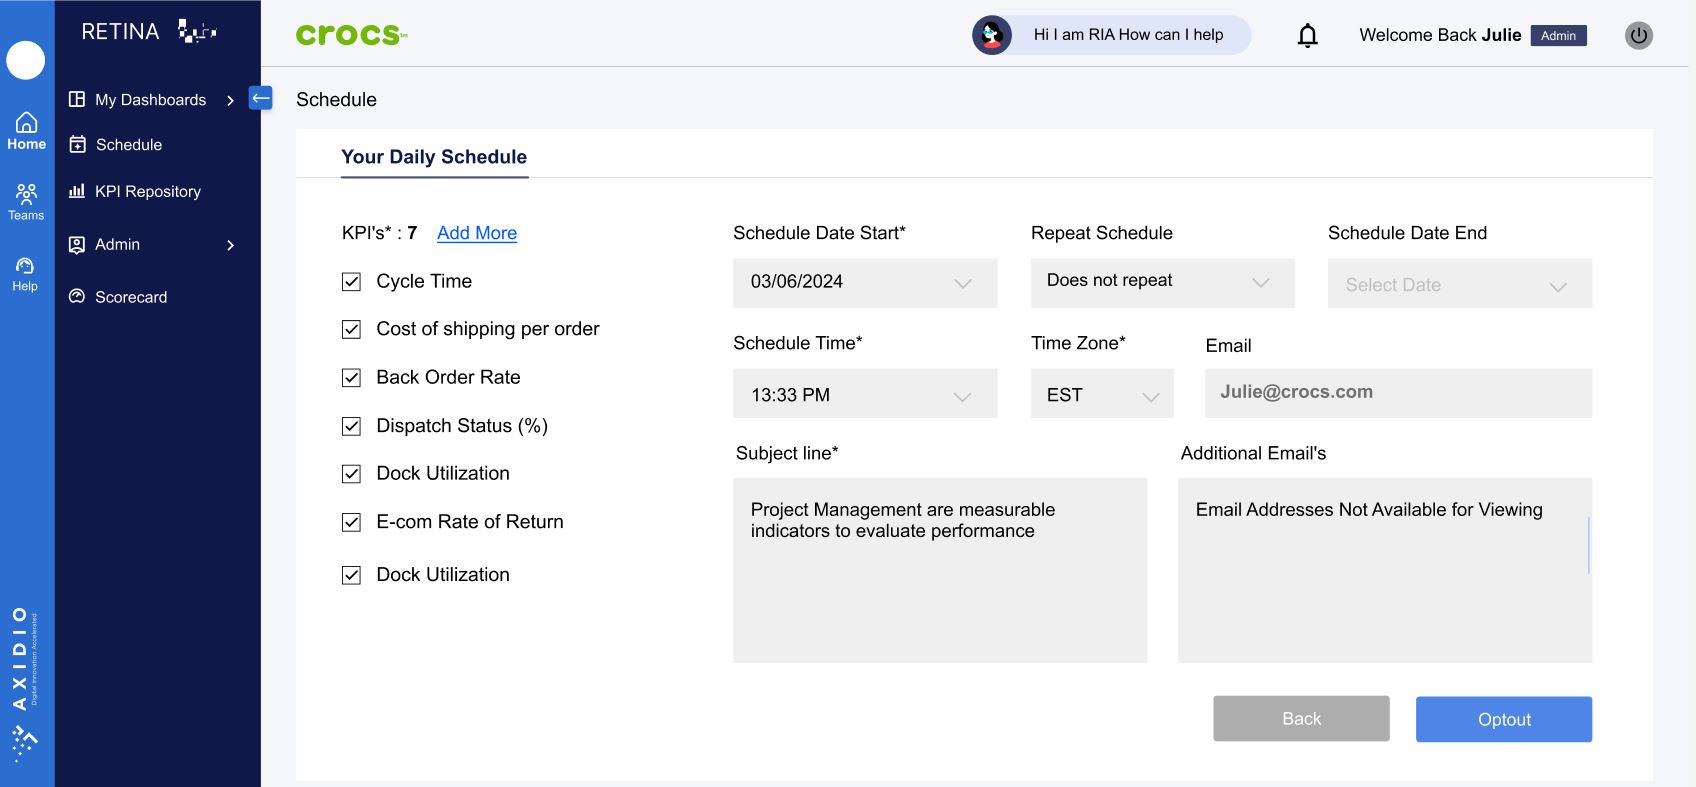
13. For non admin users, schedule can be viewed by clicking on view button as shown below.
14. non-admin users can also choose to opt out the schedule if they are not interested in it by clicking on opt out button as shown below.